Tablet Weaving
I have been exploring different ways of weaving cords - in particular filled cords that is cords with a central filling core.here is a comparison between two methods of weaving tubular cords.
Tubular cords without a central core.
Here is a drawdown for a flat woven band. There are 13 warp ends.
1. STC heddle
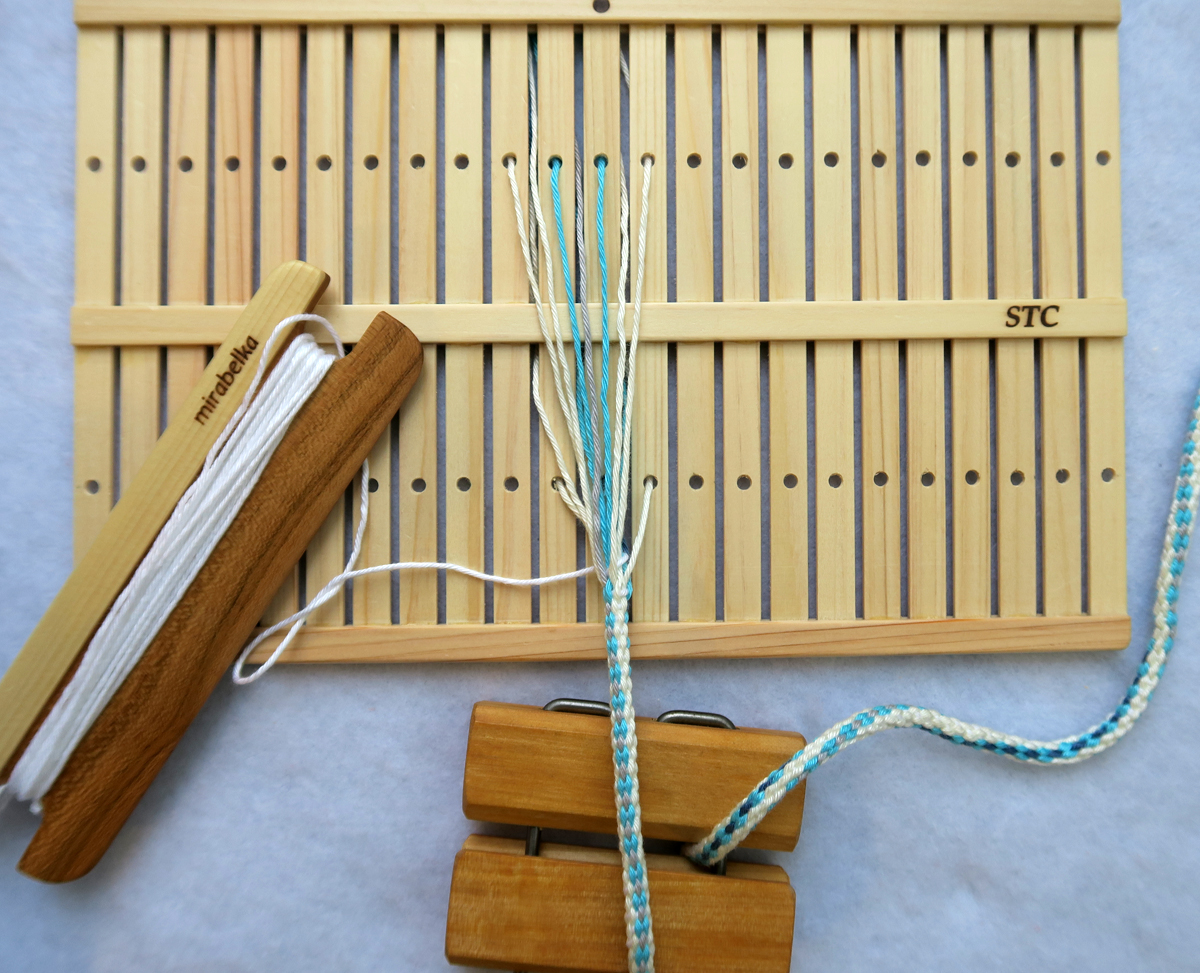
This is a new design of heddle which enables tubular bands to be woven. Tubular bands can be woven on a four shaft loom and this heddle uses the same weaving technique. For people without a four shaft loom, this new heddle is a cheaper, easily portable alternative. UIt can be woven with a backstrap.
With the STC heddle cord and the band loom cord the unwoven warp threads are held horizontally in the same order. However, on the STC heddle the warp is in two layers: a top layer of warp and a bottom layer of warp.
This is the same method as using a four shaft loom to weave tubular cloth. Here is the threading chart for weaving a tubular band on the STC heddle.
1st pick: Raising the heddle brings the warp threads in the holes to the top. The shuttle goes from left to right through the top layer. Top layer on surface: white / blue / blue / white
2nd pick: Raising the heddle brings the warp ends through the slots to the bottom. The shuttle goes from right to left through the bottom layer. Lower layer on surface: blue / blue / white
It is important to start weaving from the left side ( shuttle in left hand) to the right side of the heddle.
3rd pick: Lowering the heddle brings the warp ends through the slots to the top. The shuttle goes from left to right. Top layer on surface: white / grey / white
4th pick: Lowering the heddle brings the warp ends through the holes to the bottom. The shuttle goes from right to left. Bottom layer on surface: white / dark blue / white
Whilst weaving the two warp layers are separate and the band at the point of weaving will show one side of the band. Each layer of warp is horizontal.
Once released from tension, the tubular band will spiral.
This cord does not have a central core.
2. Tablet weaving
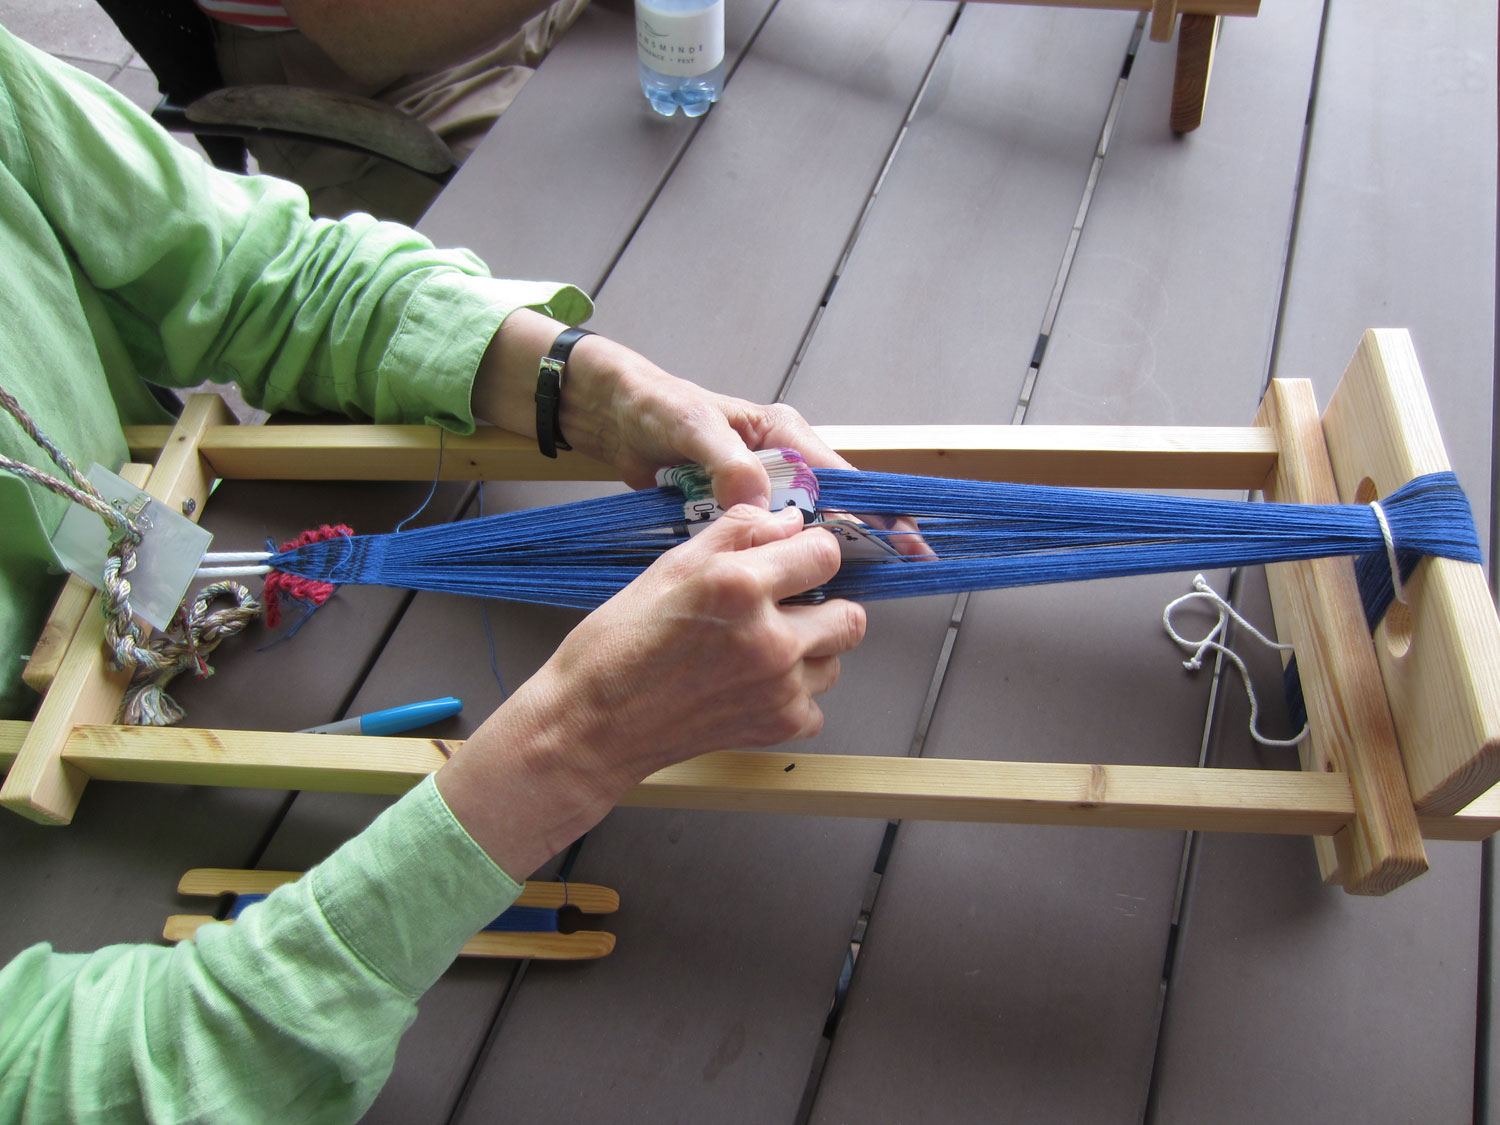
Using the same warp colours I threaded four tablets with the warp. I used two threads as a central core. The aim is to weave a tubular cord with a central core thread. The core thread is two strands of 3/2 cotton.
There are four cards, each with four holes labelled A, B, C and D. Note that one card only has one thread and the other three holes are empty.
The back post indicates the unwoven end of the warp. The front post indicates the weaving end of the cord.
It is very important to thread the cards carefully. The warp ends in holes A and B must be S threaded. This means that the warp ends are threaded through holes A and B behind the card and emerge in front of the card.
The warp ends in holes C and D are Z threaded. This means that the warp ends are threaded through the holes from the front of the card and emerge behind the card.
Core thread.
The centre core of the tubular band is not threaded through any hole although it could be threaded through the square hole in one of the cards. It will also work if the centre core threads are threaded individually through the square central holes in two of the cards.
The weave structure is double weave with the top and bottom layers joined together by the spiralling weft. The layers of weaving are warp-faced because the weft is pulled tight so that the warp ends hide the weft and the core threads.
There are only 13 warp threads which means that one card has only 1 warp end. I found that putting a shaped rod through the centre square hole holds the cards together and prevents the card with only one warp thread falling out of place. For this threading therefore I did not thread the core threads through the square hole in the cards but left them to go over the centre rod. This rod is tied with a cord so that it will not fall out when weaving. It can be used as a turning rod.
.jpg) |
| cards with central turning rod. |
Remember as weaving progresses the centre cord will become slack. This slack should be taken up at the far end of the warp.
The Weaving Sequence.
To weave, take the shuttle in the left hand and turn the cards so that the A corner is at the top leaving the C corner at the bottom.
 |
| Two sheds A and C |
As you can see, this means that there are three layers of warp. The A layer has 3 warp ends. The C layer has four warp ends.
1. The shuttle goes through under layer A and then is taken into the right hand. Tug weft to tension. The shuttle returns on top of layer C. Tug weft to tension.
2. Now take all the cards and turn them one quarter turn backwards so that the B corner is at the top leaving the D corner at the bottom. The B layer has three warp ends. The lower D layer has three warp ends.
 |
| Two sheds B and D |
3. The shuttle goes through under layer B and is taken into the right hand. Tug weft to tension. The shuttle returns on top of D. Tug weft to tension.
4. Now take all the cards and turn them one quarter turn so that the A corner is at the top leaving the C corner at the bottom. Repeat.
When weaving, the cord does not show any twist. Once the cord is released, the twist appears. The weft spirals through the cord when weaving which makes the twist in the woven cord.
Weaving a flat band
With this threading of the cards you can also weave a flat band. The weaving sequence is different.
1. The shuttle goes through shed A and then is taken into the right hand. Tug weft to tension. The shuttle returns through shed C. Tug weft to tension.
2. Now take all the cards and turn them one quarter turn backwards so that the B corner is at the top leaving the D corner at the bottom. The B layer has three warp ends. The lower D layer has three warp ends.
Here the sequence changes. The weft does not join the warp into a circle but goes back without closing one edge.
3. The shuttle goes through the warp in shed D and is taken into the right hand. Tug weft to tension. The shuttle returns through shed B. Tug weft to tension.
4. Now take all the cards and turn them one quarter turn so that the A corner is at the top leaving the C corner at the bottom. Repeat.
As you can see, the core floats on the flat band.
Here is a link to my YouTube video showing this type of weaving with 19 warp ends.
https://youtu.be/ctJHw7gZZKA
Here is the drawdown of the band.
This cord has 19 warp ends. This means that one card is threaded with only 3 warp ends. The warp and weft is double knit cotton and the centre core is four strands of 3/2 cotton.
Here is the threading diagram
The tube is woven in double weave in a warp-faced structure. The weft and central filling core are hidden by the warp threads.
Threading the centre core threads.
The core is 4 strands of 3/2 cotton. I have threaded one strand through the square centre hole in card 2, two strands through the centre hole in card 3 and one strand through the centre hole in card 4. (All the core threads could be threaded through one centre square hole if preferred).
Remember as weaving progresses the core thread will become loose. It will need to be tightened at the non-weaving end to prevent it tangling in the warp threads.
Weaving Sequence.
To weave, take the shuttle in the right hand and turn the cards so that the A corner is at the top leaving the C corner at the bottom.
As you can see, this means that there are three layers of warp. The A layer has 5 red warp ends. The C layer has four blue warp ends with one empty hole. the centre layer holds the core and all the other warp ends.
The centre filling core is threaded
1. The shuttle goes through shed A and then is taken into the left hand. Tug weft to tension. The shuttle returns through shed C. Tug weft to tension.
.jpg) |
| Shed A and Shed C with the centre threads and core |
in the middle
2. Now take all the cards and turn them one quarter turn so that the B corner is at the top leaving the D corner at the bottom. The B layer has five warp ends: red, white, red, white and red. The lower D layer has five warp ends: blue, white, white, blue and blue.
3. The shuttle goes through shed B and is taken into the left hand. Tug weft to tension. The shuttle returns through shed D. Tug weft to tension.
4. Now take all the cards and turn them one quarter turn so that the A corner is at the top leaving the C corner at the bottom.
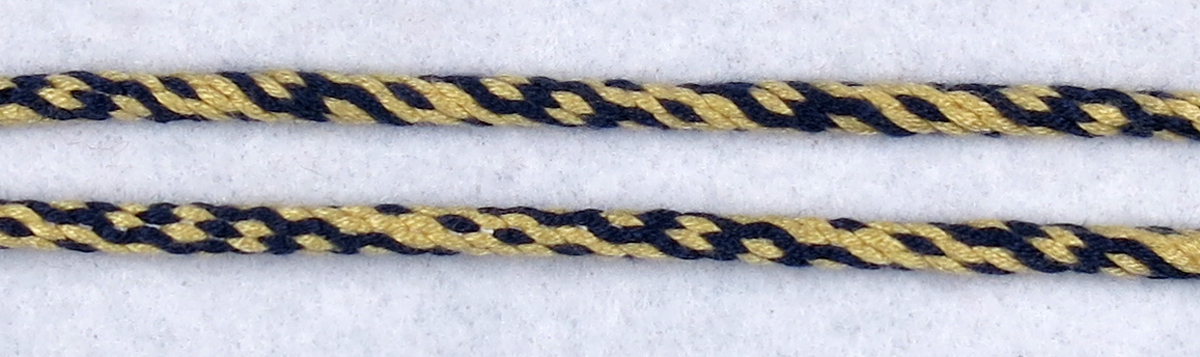
Here is the woven filled tubular cord.
I hope you enjoy exploring this different method for weaving filled tubular cords.
Susan J Foulkes February 2023



.jpg)


.jpg)