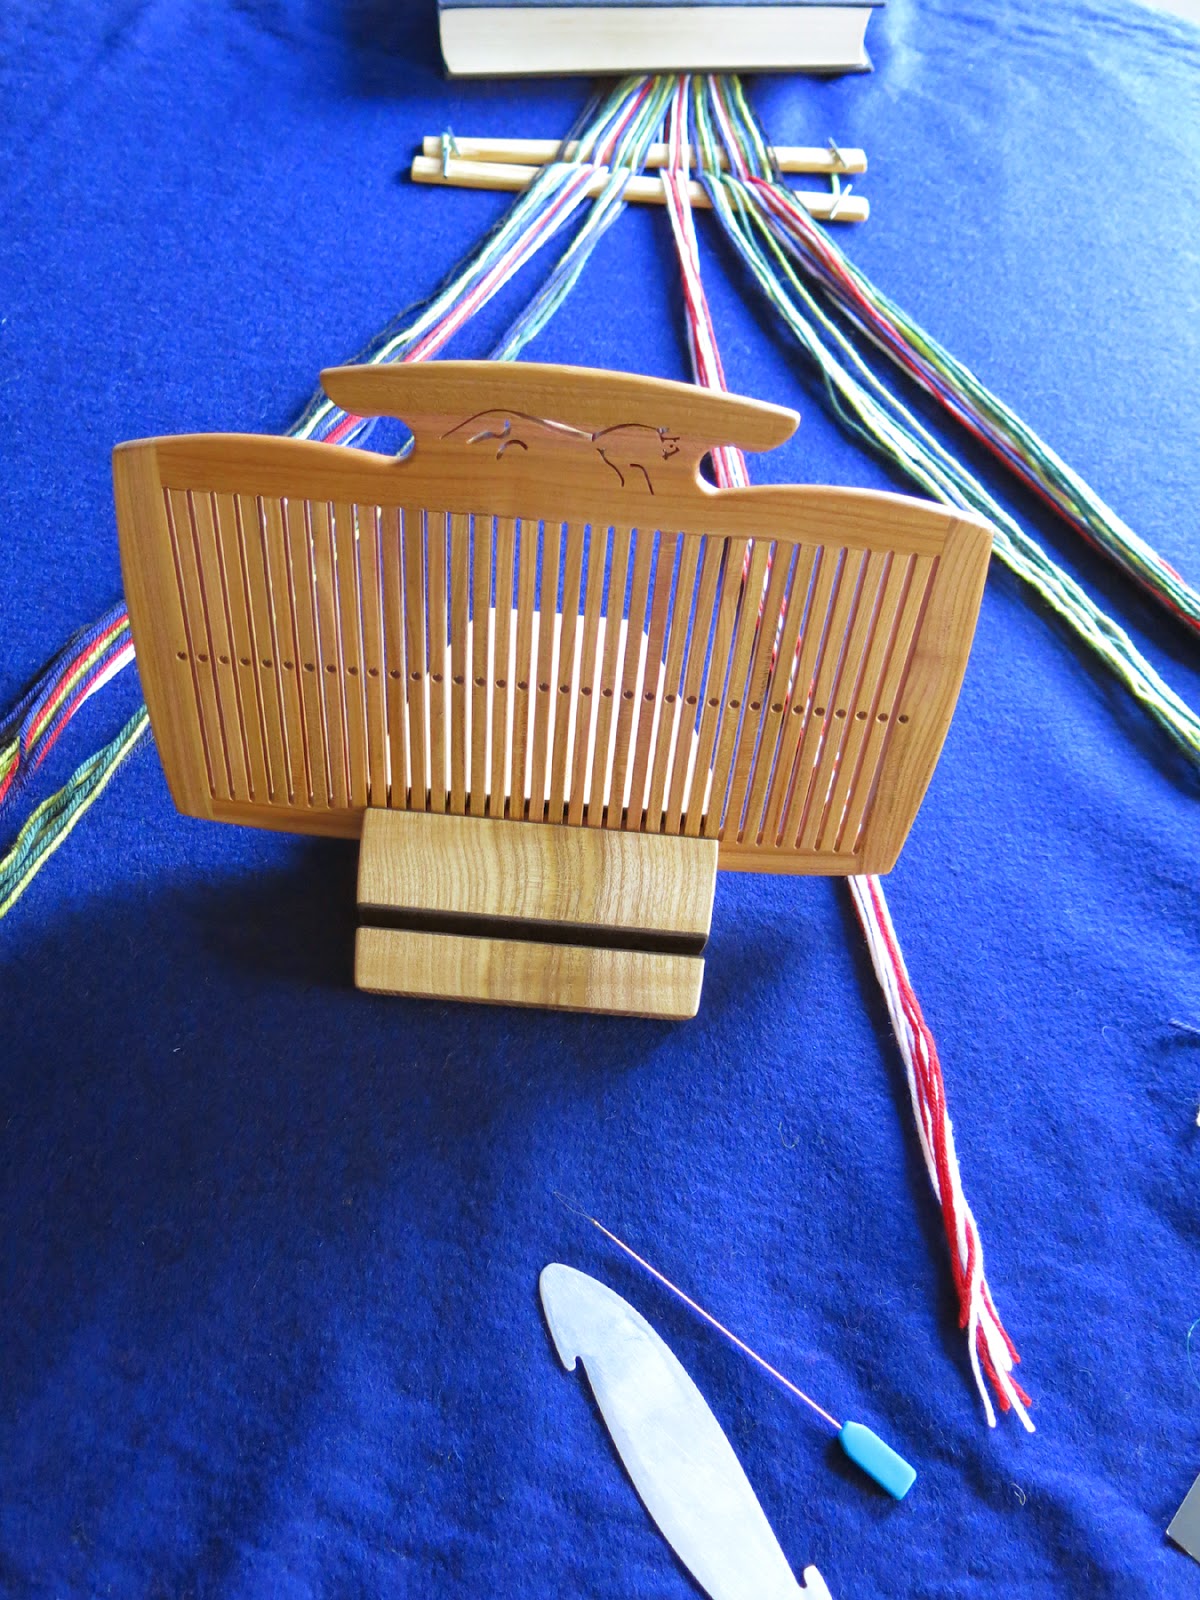
It was a great pleasure to meet Gunnar Karro in Estonia. He has a love of wood and woodworking which shows in the quality of the weaving implements that he makes. When I spoke to Gunnar, he had seen our rather primitive design. His craft knowledge immediately set to work to design a better version. This is the result. I will show you his stylish heddle stand in action.
Threading a standard heddle for a simple warp faced band.
1. First make the warp according to your warp plan. I always use a singles cross to separate the threads.
 |
| cross sticks in place. |
2. Place cross sticks through the singles cross. The cross sticks are two strips of wood with holes at either end. I use treasury tags to hold them together but a length of yarn will do.
3. Weight the end of the warp with a heavy book. This stops the warp ends moving when you are threading. Spread the warp so that you can find the centre threads.
 |
| Reed hook and two examples of threaders. |
4. Here are examples of threaders. I use the left one for threading through the slots in the heddle. Threading through the holes can be tricky. In the centre is a needle threader and on the right are the simple plastic threaders from Stoorstalka. Either will do.
 |
| Setting up to thread the heddle. |
5. Here is the set up. The heddle is in the stand and the warp is spread. The threaders are ready. Sit facing the side edge of the heddle so that you can use both hands.
The heddle stand is lined so that the heddle fits snugly. The extra slot in front is for the shuttle.
 |
| Threading the warp ends through a hole. |
6. I always start threading in the centre and work out towards the edge. Return to the centre and start on the other side.
Here I am threading a white warp end through a hole.
 |
| It is easy to have your hands on both sides of the upright heddle. |
Here is another photograph. Hold the thread on one side of the heddle and pull the threader on the other side.
 |
| Threading through the slots. |
7. I am using the reed hook to thread the warp end through a slot. When you sit facing the edge of the heddle, your hands can easily manipulate the threads on either side.
 |
| The threading is complete. |
8 The threading is completed. The cross sticks can be removed. The heddle is ready for use. Use a slip knot for the ends of the warp.
The stand holds the heddle in exactly the right position to make threading easy.
Gunnar sells his work at https://www.etsy.com/uk/people/Ampstrike
This band is woven like the bands on my YouTube video: Five Ways of Weaving Narrow Bands at
https://youtu.be/ZzhuDomPtxE
Threading the standard heddle for a patterned band.
This warp is for a patterned warp faced band. The pattern threads are always at least double the thickness of the background threads.Look at this threading diagram for a patterned band. It shows what colour thread needs to be in each long slot, hole and short pattern slot.
A Threading Diagram
Here is an example of a threading diagram for a patterned band with 13 pattern threads. There are 10 border threads on each side. Only half the threading is given as M indicates the centre pattern thread.
Key
W = white, B = blue, R = redRd = red doubled thread for the pattern.
1. Look at the standard heddle and find the hole which is nearest to the centre. Divide the warp in two as shown above. Take the centre pattern thread (which may be two strands) through this centre hole in the heddle.
2. Start threading in the centre and work out towards the edge. Return to the centre and start on the other side.
Happy threading!
Susan J Foulkes 2015

Does Gunnar Karro sell heddle stands? I checked his shop on Etsy & don't see any offered.
ReplyDeleteHi Janet
ReplyDeletehe made one for me for the heddle that I bought from him. E-mail him and ask. he does do bespoke items. The wood he uses is simply beautiful The feel of it when weaving adds a tactile dimension to the craft.
Susan
I have learned to end the weaving in a hole rather than a slot on rigid heddles. But I did not get the reason for doing it. Could you tell me why? Thanks for all the great videos! Tony
ReplyDeleteNice job.
ReplyDelete